1. Prepare the garment and your shot list
Learning how to photograph clothes for sale starts with the actual item you intend to sell, or a representative sample that accurately matches it. Check the front, back, lining, fasteners and labels before styling. Follow the care label when removing wrinkles; do not stretch a garment into a shape it will not retain.
For used clothing, record wear, repairs and marks rather than removing them in an editor. A styled hero image is not a substitute for showing the condition of the item. Keep measurements in the product description: a photo alone cannot establish an exact fit.
- One complete front view and one complete back view.
- Close views of fabric, print, closures, pockets and distinctive construction.
- A clear record of any condition details a buyer should know.
- An optional on-model view to add wearing context.
2. Set up simple, repeatable light
For clothing photography at home, start with a phone, a stable support and a plain surface large enough for the garment. Use soft window light or a diffused lamp. Avoid mixing strongly different light colors, and move the setup if direct sun produces harsh shadows or washed-out patches.
Choose enough contrast to see the garment edge: a white shirt can disappear against a very bright white background. Keep the camera parallel to a flat lay, or level with a hanging garment, rather than tilting it sharply. Take a test photo and inspect the corners before continuing. A repeatable setup makes learning how to photograph clothes for sale easier across a whole collection.
For additional lighting and phone setup guidance, see Shopify’s phone product photography guide. Use the equipment you have before deciding what needs improvement.
3. Keep the silhouette readable
Lay out the clothing so the neckline, both sleeves and the full hem can be inspected. Remove hang tags or props only when you can do so safely and without hiding information about the product. Avoid crossed sleeves, cropped edges and folds that conceal graphics or pocket openings.
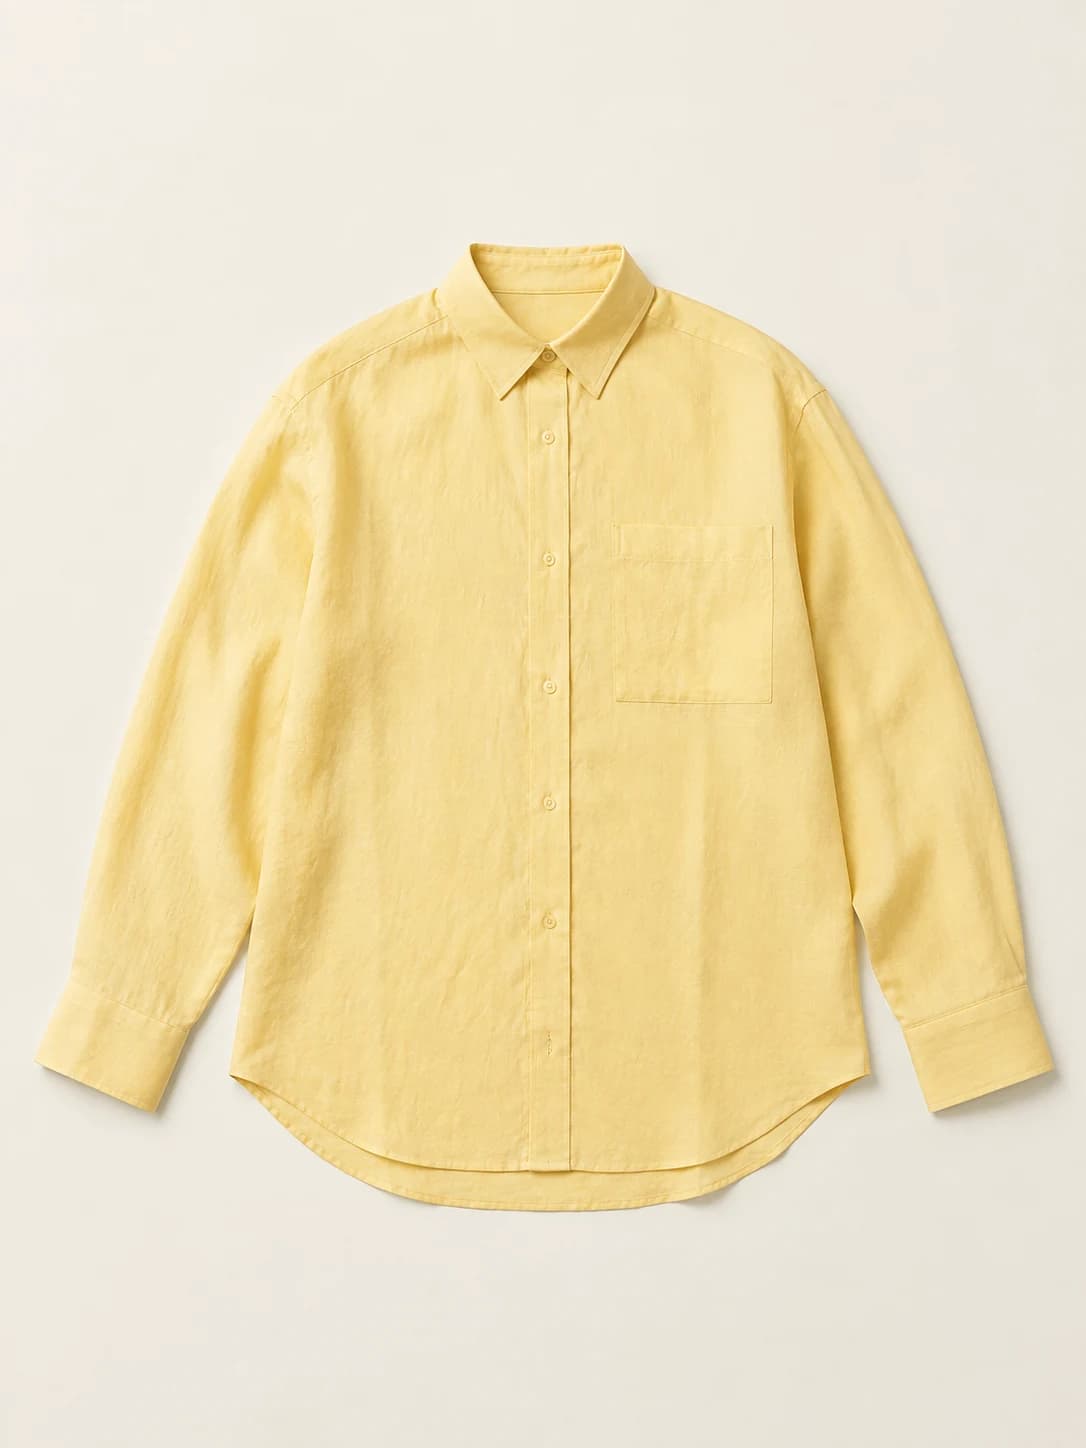
If structure matters more than a flat outline, consider a mannequin or a real model. The on-model photography guide explains the tradeoffs. You do not need every presentation style for every garment.
4. Capture, then inspect at full size
Clean the lens, steady the phone and use its main camera. Leave room around the item rather than cutting off sleeves or hems. Avoid digital zoom and heavy portrait effects when they blur fabric edges. Keep your setup consistent while photographing the remaining views.
Knowing how to photograph clothes for sale also means checking the originals, not just your phone preview. Open the files at full size. If a logo is already unreadable, a seam is covered or a black garment has lost all texture, retake that image. Enlarging a file does not recover details that were never captured. Photograph important hidden surfaces directly instead of asking an editor to invent them.
- Color cast: simplify the lighting and retake a reference.
- Blurry print: steady the camera and check focus on the garment.
- Distorted shape: step back and keep the camera parallel to the subject.
- Hidden detail: add a close-up or a different angle.
5. Separate correction from invention
Crop distractions and make modest exposure corrections while comparing with the real item. Do not change the apparent color, condition, length or construction to make the product more attractive. Keep the unedited originals and name the front, back and detail files so you can match them to the right item.
If you add an AI model image, treat it as a generated presentation, not proof of fit. Compare it with your original references before publishing. The flat lay to model workflow starts from an existing clothing image; it cannot make an incomplete source into a reliable record of unseen details.
Check the current requirements of the destination store, including disclosure and image rules. ModelSnap does not automatically certify a generated image for a marketplace. Keep real detail photos alongside generated presentation when buyers need to inspect construction.
Before you publish: a practical checklist
Use this checklist to review how to photograph clothes for sale without hiding product details. Checks are temporary on this page and are not saved to an account.
Ready to add a model image? Read the AI clothing photography workflow, or keep your photographs as they are if they already answer the buyer’s questions. AI is an optional production step, not a requirement for a good listing.